
Join on WhatsApp
Get the latest updates directly on WhatsApp – motivation, news & more!
 Join On WhatsApp
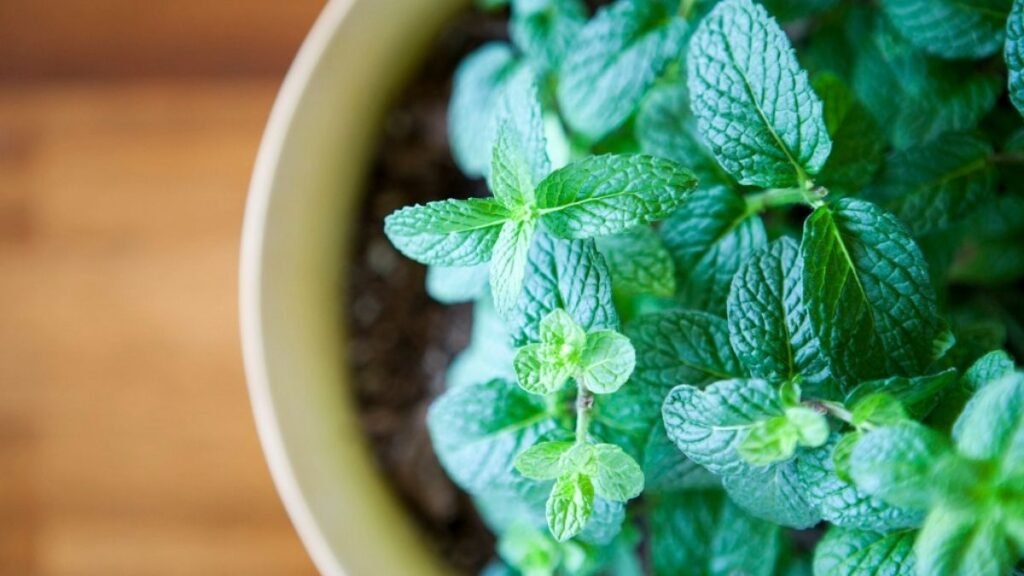
Growing mint at home is one of the most rewarding gardening experiences, especially for beginners. Mint is low-maintenance, fast-growing, and incredibly versatile in both culinary and medicinal uses. Whether you want to brew fresh mint tea, garnish a dessert, or use it in savory dishes, having a mint plant nearby means fresh flavor is always within reach. It’s also a natural insect repellent and can even improve air quality indoors.
Choosing the Right Type of Mint
There are many varieties of mint, and selecting the right one depends on how you plan to use it. Peppermint and spearmint are the most common and are great for teas, desserts, and cooking. Chocolate mint and apple mint offer more unusual flavors and can add unique twists to recipes.
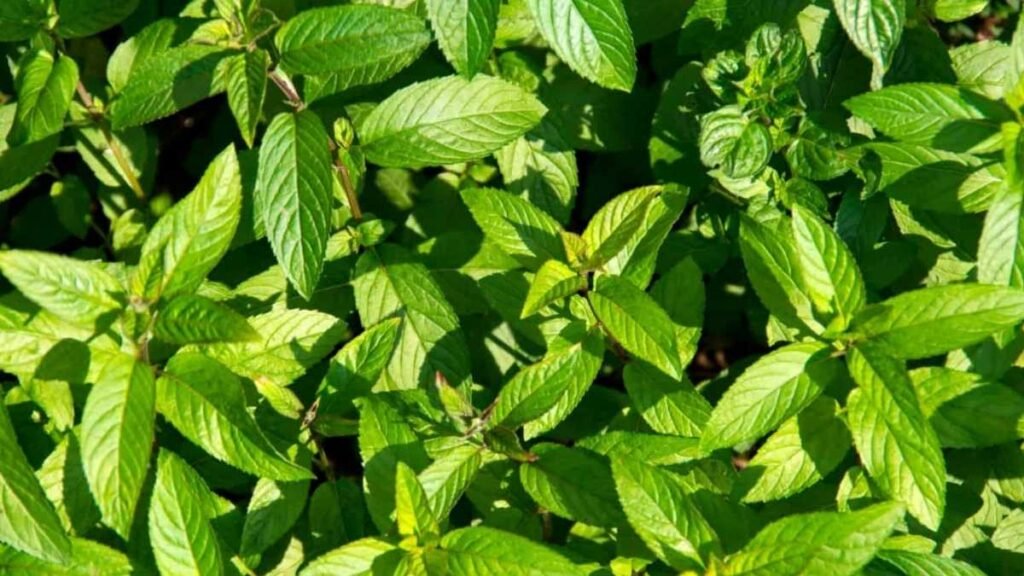
Most varieties grow similarly, so your choice can be based on personal taste. It’s worth visiting a nursery and smelling the different types before choosing. Once you pick your favorite, it’s time to get planting.
Deciding Between Pots or Ground
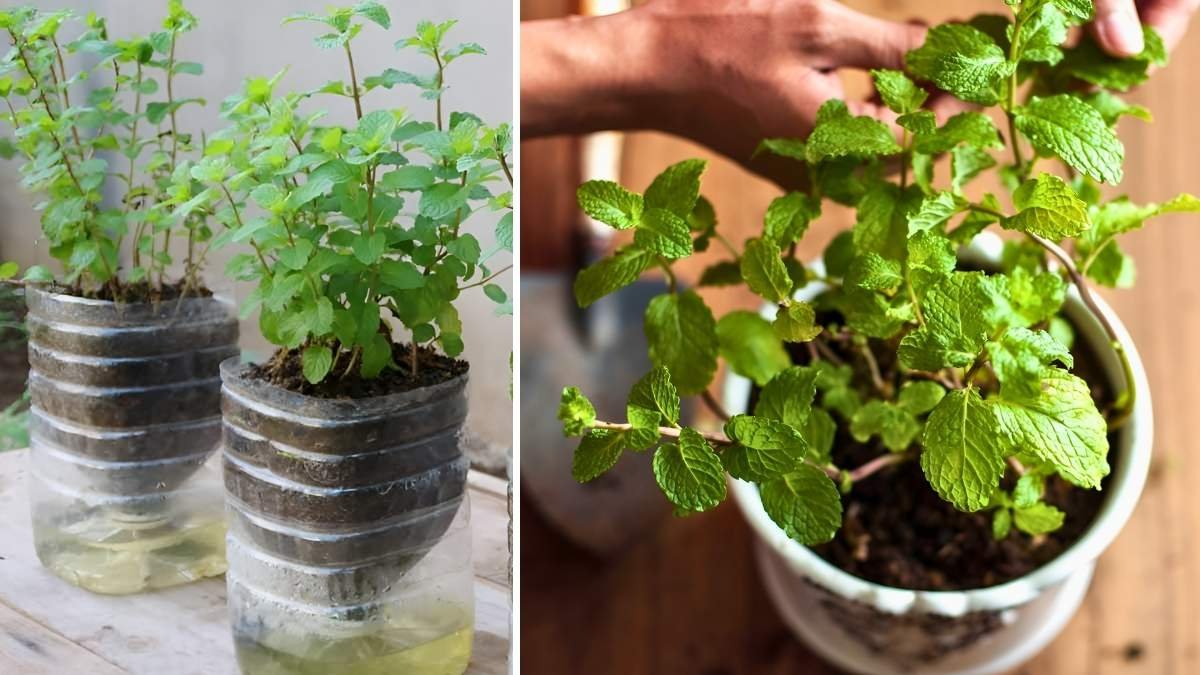
Mint is notorious for its vigorous growth and can quickly take over a garden if planted directly into the soil. For beginners, growing mint in a container is the safest and easiest option. A pot confines the roots and prevents the plant from spreading uncontrollably.
If you do decide to plant mint in the ground, it’s best to bury a pot or bottomless container into the soil and plant the mint inside that. This helps contain the roots while still giving the plant access to natural soil conditions. Whichever method you choose, make sure the container has good drainage.
Finding the Perfect Location
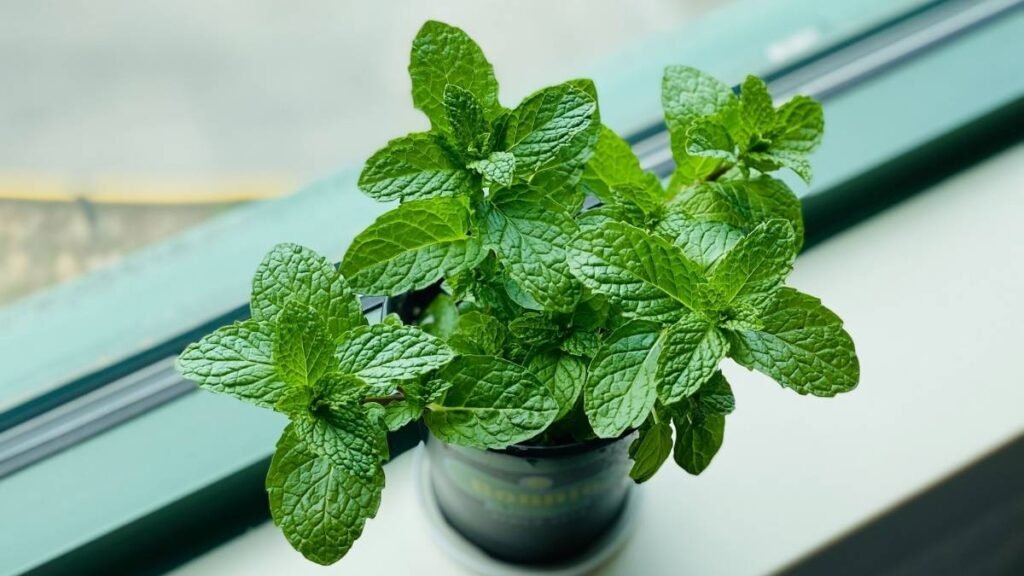
Mint thrives in partial shade to full sun. Ideally, your mint plant should receive around 4 to 6 hours of sunlight each day. Too much direct sun can cause the leaves to wilt, especially in hotter climates, so a spot with morning sun and afternoon shade is ideal.

Indoors, place the pot near a bright window. Outdoors, a patio, balcony, or edge of the garden works well. Just ensure the spot is easily accessible you’ll want to snip leaves often.
Preparing the Soil
Mint isn’t too picky about soil but prefers a well-draining, loamy mix. If you’re using store-bought potting soil, choose one labeled for herbs or vegetables. Adding a bit of compost or organic matter will enrich the soil and encourage healthy growth.
Good drainage is crucial. Mint roots don’t like to sit in water, which can cause rot. If you’re growing in a pot, make sure it has drainage holes and place a small layer of stones at the bottom if needed.
Planting Your Mint
You can grow mint from seeds, cuttings, or starter plants. For beginners, using a starter plant or a cutting from a friend’s plant is the fastest and most reliable method.
To plant mint, dig a small hole just deep enough to cover the root ball. Place the plant inside, cover with soil, and press down gently. Water it thoroughly after planting to help it settle in.

If using cuttings, place the stem in water for a few days until roots form, then transfer it to soil. Keep the soil moist during the initial days while the plant establishes itself.

Watering and Feeding
Mint likes consistently moist soil, especially during hot or dry weather. Water your plant when the top inch of soil feels dry to the touch. Be careful not to overwater; soggy soil can lead to root rot.
Feeding your mint every 4–6 weeks with a balanced liquid fertilizer will help keep it lush and green. However, don’t overdo it too much fertilizer can reduce the intensity of the mint’s flavor. A diluted solution or compost tea works well for maintaining healthy, flavorful plants.
Pruning for Health and Flavor
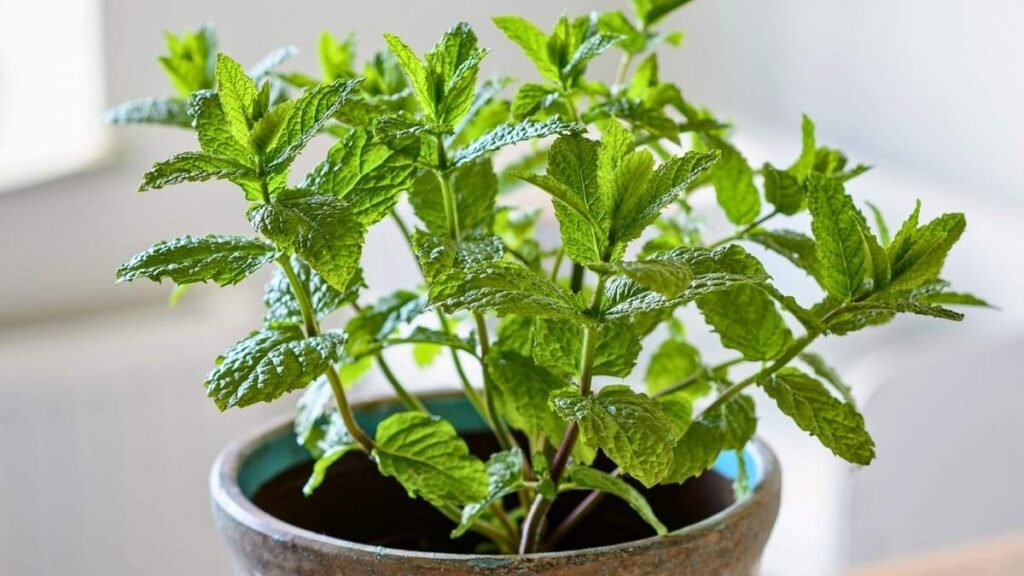
Regular pruning is key to growing healthy mint. Once the plant reaches about 4 to 6 inches tall, start pinching off the top leaves. This encourages the plant to grow bushier and prevents it from getting leggy or sparse.
Always remove flower buds as soon as they appear. While mint flowers are attractive and can be used in salads or teas, flowering signals the plant to stop producing new leaves. Pinching them off keeps the plant in its leafy, productive stage longer.
You can also harvest leaves frequently to promote growth. Use clean scissors or your fingers to snip off what you need, and the plant will quickly bounce back.
Dealing with Pests and Problems
Mint is generally pest-resistant, but it can occasionally attract aphids, spider mites, or whiteflies. If you notice small bugs or holes in the leaves, wash the plant with a gentle spray of water or use insecticidal soap. Avoid using chemical pesticides, especially if you plan to eat the leaves.
Overwatering is one of the most common issues with mint. Yellowing leaves and droopy stems may indicate the roots are too wet. Reduce watering and ensure the soil is draining properly.
Mint can also suffer from powdery mildew, especially in humid conditions. Improve air circulation around the plant, water early in the day, and remove any affected leaves promptly.

Propagating Mint for More Plants
One of the best things about mint is how easily it propagates. You can multiply your plant by cutting a healthy stem about 4 inches long, stripping the bottom leaves, and placing the stem in a glass of water. Within a week or two, roots will begin to form. Once the roots are about an inch long, transfer the cutting into soil.
You can also divide the plant’s roots. Carefully lift the entire plant from its pot or garden bed, separate the root ball into smaller sections, and replant each one. This method helps rejuvenate older plants and gives you new ones to share or plant elsewhere.
Using Your Homegrown Mint
Now that your mint is thriving, you can enjoy it in countless ways. Add fresh leaves to water or cocktails for a refreshing twist. Chop it into salads, blend it into sauces, or steep it in hot water for soothing tea. Mint pairs well with fruits like watermelon and citrus and enhances both savory and sweet dishes.
You can also dry or freeze extra leaves. To dry mint, tie a bunch together and hang it upside down in a cool, dry place. For freezing, chop the leaves and place them in ice cube trays with water or olive oil. Frozen cubes can be dropped directly into dishes as needed.
Final Thoughts
Growing mint at home is a perfect project for beginners. With just a small pot, a sunny window, and a bit of care, you’ll have a fresh, aromatic herb at your fingertips year-round. It’s forgiving, fast-growing, and endlessly useful. Once you start growing mint, you might find yourself adding it to nearly everything you eat or drink. Just remember to contain its roots and trim it often, and your mint plant will reward you with flavor, fragrance, and vitality for seasons to come.