
Join on WhatsApp
Get the latest updates directly on WhatsApp – motivation, news & more!
 Join On WhatsApp
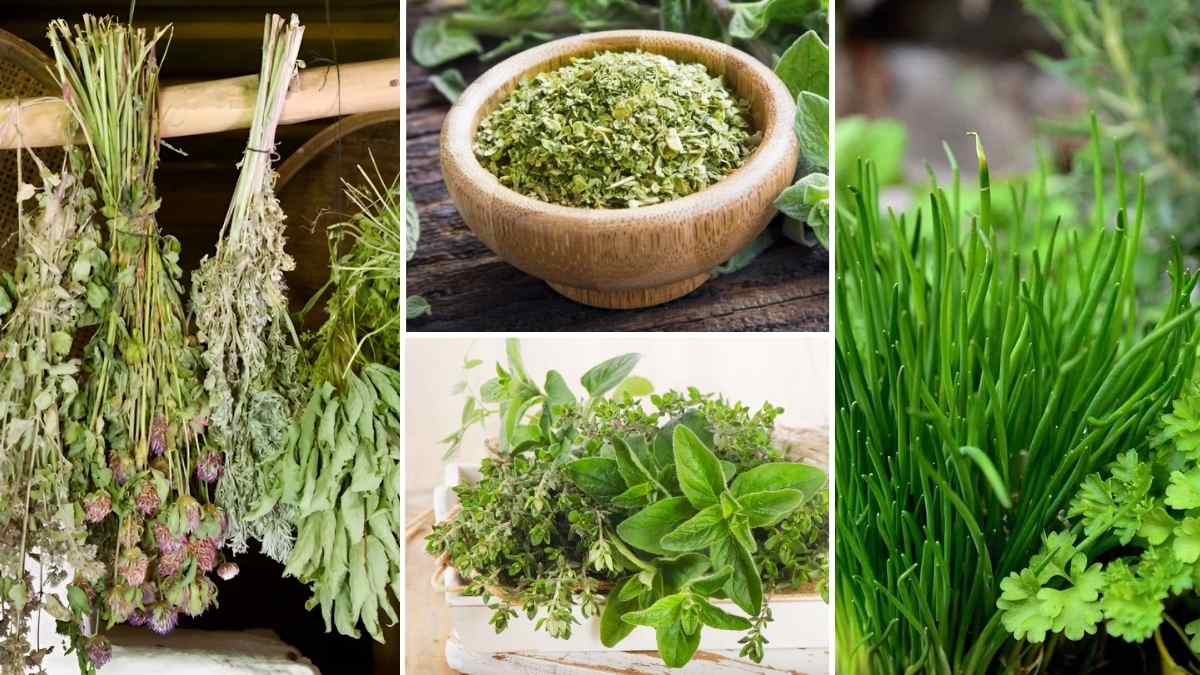
Drying herbs is one of the oldest and simplest ways to preserve their flavor for months to come. But doing it right is key especially if you want to maintain their vibrant taste and aroma. Natural drying methods, when done correctly, can retain the essential oils in herbs that give them their characteristic punch. Whether you grow your own herbs or buy them fresh from the market, drying them at home can be incredibly rewarding. Let’s walk through how to dry herbs naturally without sacrificing flavor.
Choose the Right Herbs for Natural Drying
Not all herbs dry equally well using natural methods. Herbs with lower moisture content are generally easier to dry without special equipment. These include:
- Rosemary
- Thyme
- Oregano
- Sage
- Marjoram
- Dill
- Mint
- Lavender
On the other hand, herbs with higher moisture content, like basil, parsley, or cilantro, are more prone to mold if not dried carefully. These can still be air-dried, but you’ll need to be extra cautious with airflow and humidity.
Harvest Herbs at the Right Time
Timing is everything when it comes to drying herbs. For the best flavor, harvest herbs just before they flower. This is when their essential oil content is at its peak. Early morning, after the dew has dried but before the sun gets too hot, is the ideal time to cut your herbs. Use sharp scissors or garden shears, and take only healthy leaves and stems. Avoid any that are yellowing or damaged.
Rinse and Gently Dry the Herbs
Even if your herbs look clean, it’s a good idea to give them a quick rinse to remove any dirt or bugs. Hold the herbs under cool running water and shake gently to dislodge anything hiding in the leaves. After rinsing, spread them out on a clean towel and pat dry. Allow them to air-dry for an hour or so before you begin the actual drying process. The drier the surface, the less chance of mold developing.
Bundle and Hang for Classic Air Drying
The traditional method of air-drying herbs involves bundling and hanging them upside down. This method works best for herbs with sturdy stems like thyme, rosemary, and sage.

Here’s how to do it:
- Gather 5–10 stems into a small bundle.
- Tie the stems together with twine, string, or a rubber band.
- Hang the bundle upside down in a warm, dry, well-ventilated area out of direct sunlight.
A dark pantry, unused closet, or attic space can be ideal. Avoid humid areas like kitchens or bathrooms. You can cover the bundles loosely with a paper bag with holes punched in it to keep dust off and allow air to circulate.
Drying typically takes 1 to 2 weeks. You’ll know your herbs are ready when the leaves are crispy and crumble easily between your fingers.
Use a Drying Screen for Delicate Herbs
For herbs with more delicate leaves or higher moisture content—like basil, mint, or parsley—laying them out on a drying screen can work better than bundling. A drying screen is simply a mesh surface that allows air to circulate from all sides.
To use this method:
- Place the herbs in a single layer on the screen.
- Keep the screen in a warm, dry, well-ventilated area out of direct sunlight.
- Turn the leaves every couple of days to ensure even drying.
This method is gentle and reduces the risk of bruising the leaves. It may take a little longer, up to two weeks, but the results are worth it.

Monitor Humidity Levels
One of the biggest challenges in natural herb drying is humidity. High humidity can cause herbs to mold before they fully dry. If you live in a humid climate, use a dehumidifier or fan to help air circulation. You can also place silica gel packets nearby (but not touching the herbs) to absorb excess moisture. Never rush the process by putting herbs in the oven or microwave if your goal is to retain flavor—those methods can zap the essential oils you’re trying to preserve.
Know When They’re Fully Dry
It’s important to make sure your herbs are completely dry before storing them. If any moisture remains, it can lead to mold. Dried herbs should be:
- Crisp and crumbly
- Free from any soft or flexible spots
- Light in weight
A simple test: Try crushing a leaf between your fingers. If it crumbles easily into dust, it’s ready. If it bends or feels leathery, give it more time.
Store Herbs Properly to Retain Flavor
Once dried, herbs need to be stored the right way to keep their flavor. Glass jars with airtight lids are ideal. Keep them out of sunlight and heat—so no storing them above the stove or next to a sunny window. A cool, dark pantry is perfect.
Label your jars with the herb name and date. Dried herbs are best used within 6 to 12 months. After that, they begin to lose potency, though they’re still safe to use.
For best results, store whole leaves and crumble them only when you’re ready to cook. Crushing them exposes more surface area to air, which can speed up flavor loss.

Use Your Dried Herbs Creatively
Now that you’ve dried your herbs naturally, it’s time to enjoy them. Sprinkle them over roasted vegetables, stir them into soups and stews, or mix them into marinades. Homemade herb blends like Italian seasoning or herbes de Provence are easy to make and far more flavorful than store-bought versions.
If you grow your own herbs, drying them is a simple way to enjoy your harvest all year long. And if you buy fresh bundles from the market, drying them helps reduce waste and saves money.
Final Thoughts on Drying Herbs Naturally
Drying herbs naturally is a rewarding, practical skill that connects you to traditions passed down for generations. It doesn’t require fancy tools—just patience, airflow, and attention to detail. The key is starting with quality herbs, drying them slowly in the right conditions, and storing them carefully.
When done right, your dried herbs can pack just as much flavor as their fresh counterparts. So the next time your herb garden is overflowing or you have a bundle of fresh mint you don’t want to waste, give natural drying a try. You’ll be surprised at how much taste you can preserve with such a simple method.